Configure SLNX Card Login
Follow these instructions to enable card login and authentication to the SLNX Management Console Driver Distribution portal, and/or the SLNX User Console.
Enable Client Certificates
-
Edit the Core properties file located by default at C:\ProgramData\Ricoh\Streamline NX\data\configuration\core.
-
Open the core.properties file in a text editor.
-
Add the following line to the file:
jetty.clientcertificates.want=1
-
Save the change.
Enable System Smart Card Login
A user assigned the Customer Engineer role must perform the following steps in the SLNX Management Console.
Note that you must have Customer Engineer privileges to access the Advanced System Settings editor.
-
Log in to the Management Console using a user account that has Customer Engineer privileges.
-
Click [System] → [Server Settings] → [Advanced System Settings Editor].
-
Click [View] → [Central Manager Settings].
-
Scroll down to locate and select the "system.smartcard.login.enabled" key.
-
Under Details, set the [Value] to True.
-
Click [Save].
Smart Card Login and Authentication
Perform these steps to register a card with Windows.
-
Insert the card into a connected card reader. The reader will copy the required authentication certificate to your personal store.
-
Navigate to the SLNX Management Console and the browser will prompt you to select the certificate.
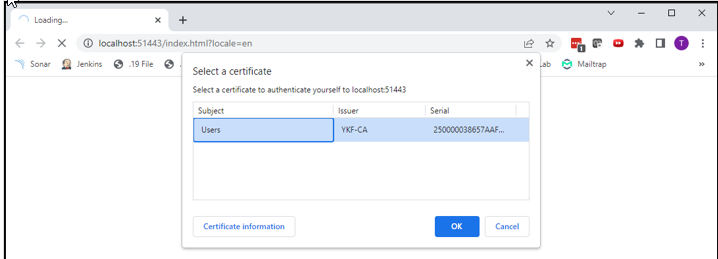
-
After the certificate is selected, you are prompted to insert the associated smart card.
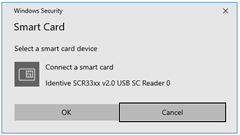
-
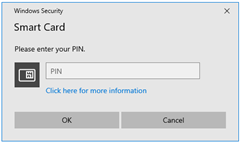
Re-insert the smart card in the card reader and you will be prompted to enter your smart card PIN.
-
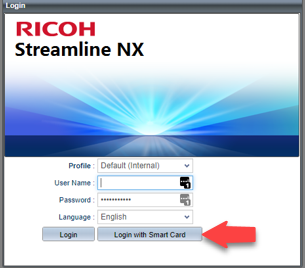
At the SLNX Login screen, click Login with smart card to authenticate.