Scan an Image
If the Scan Image button is not enabled in the SLNX Capture Client, you do not have the required TWAIN scandriver installed on your computer. Ask your system administrator for help to install the required driver and to set up your PC for TWAIN scanning.
To add an image from an MFP scan:
-
Select a Workflow from the Workflow Group.
-
Click Select Source
 .
. -
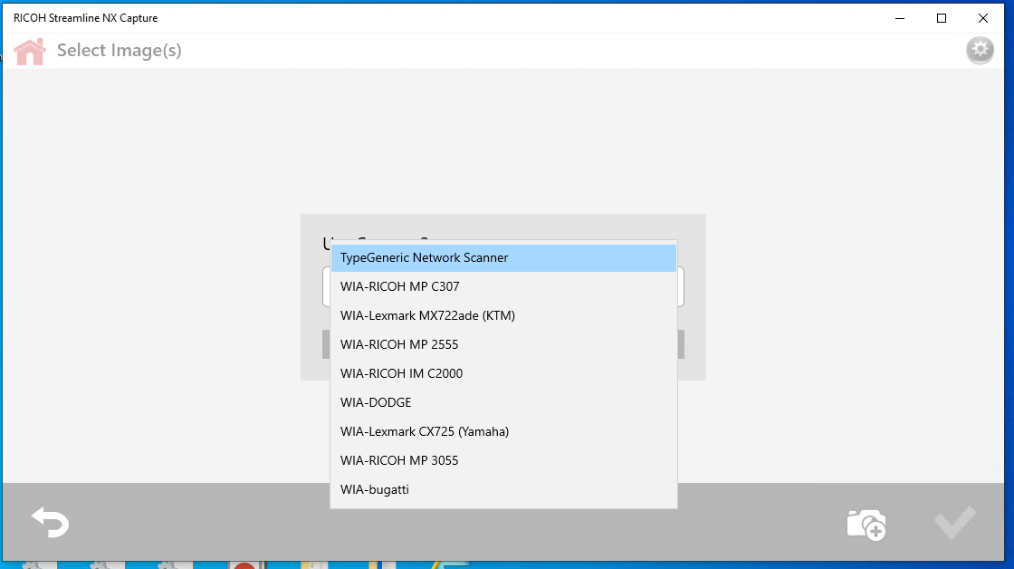
Click Scan Image. In the pop-up window, select the TWAIN driver.
-
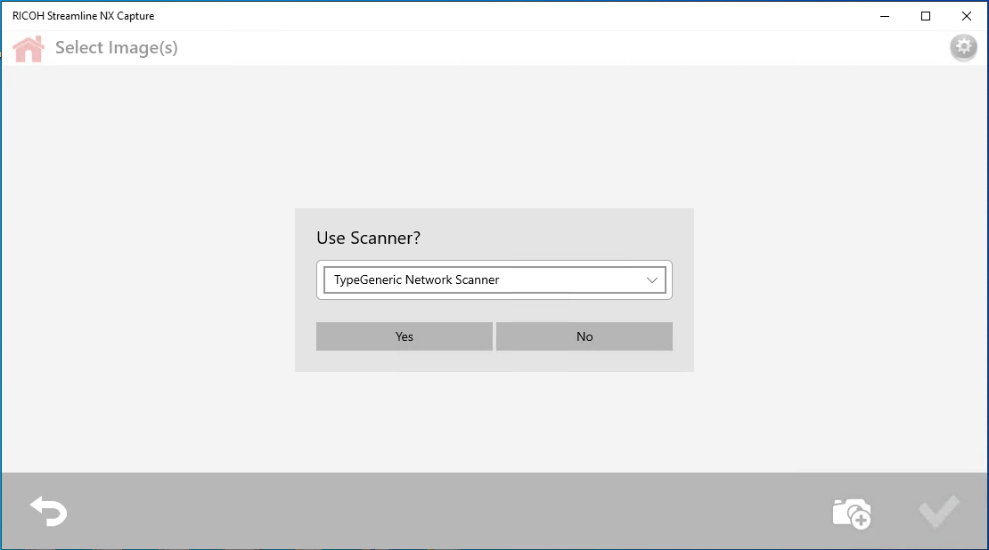
Confirm that you want to use the selected ‘scanner’.
-
Click [Yes] to proceed.
-
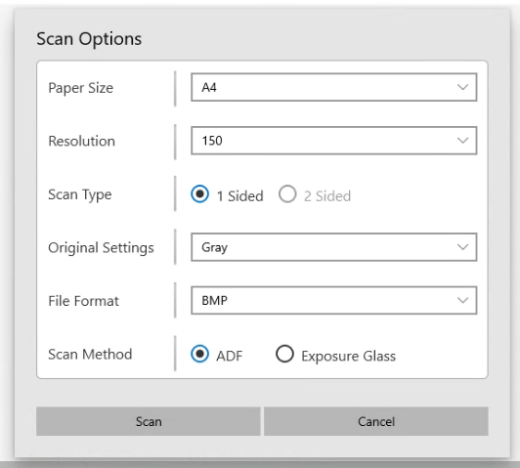
In the Scan Options screen, select scan settings such as Resolution, Paper Size, Scan Type, Original Settings, File Format, and Scan Method.
If a scan option is not available, the option will appear, but will be disabled. The options available depend upon the TWAIN Driver support.
-
Click Scan to proceed.
-
In the MFP authentication screen, enter your SLNX user credentials.
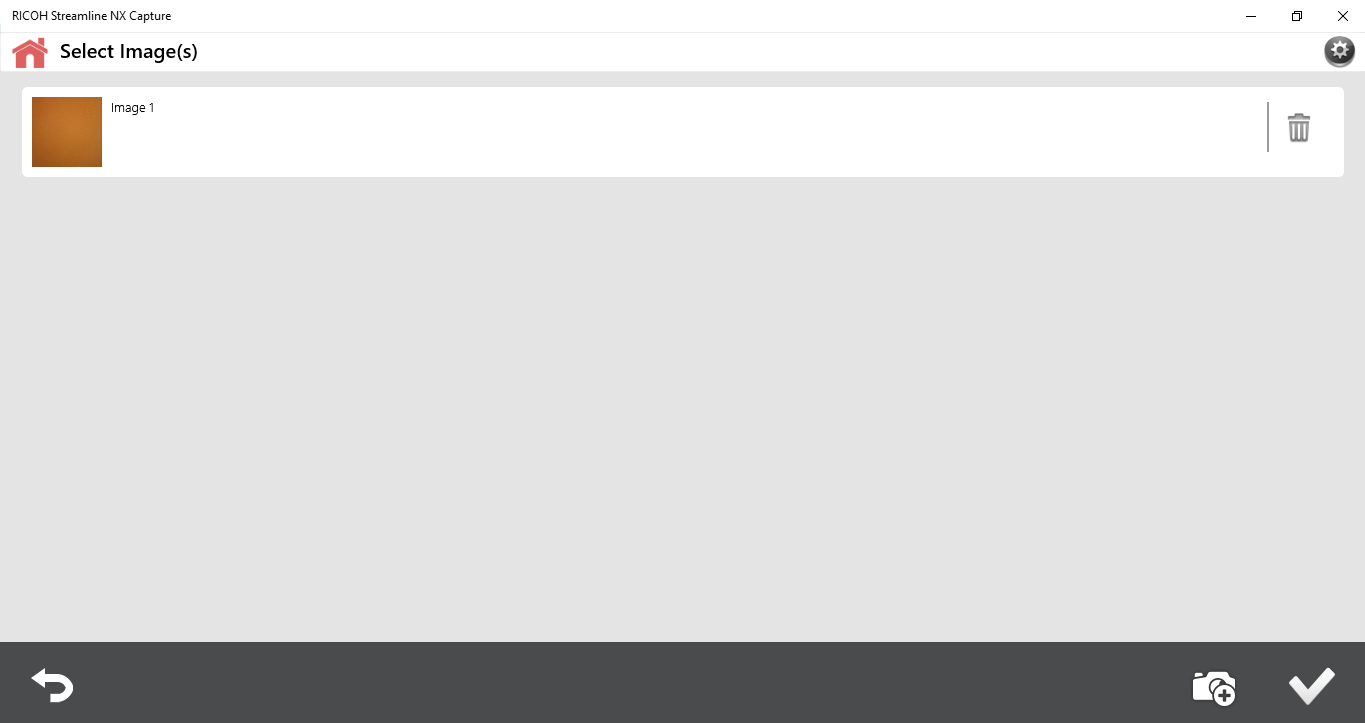
The MFP will scan the documents from document feeder. The scanned file is displayed in the screen:
-
Click Accept ✓.
-
In the workflow destinations screen, choose a Send to Folder workflow. The folder selection screen will appear.
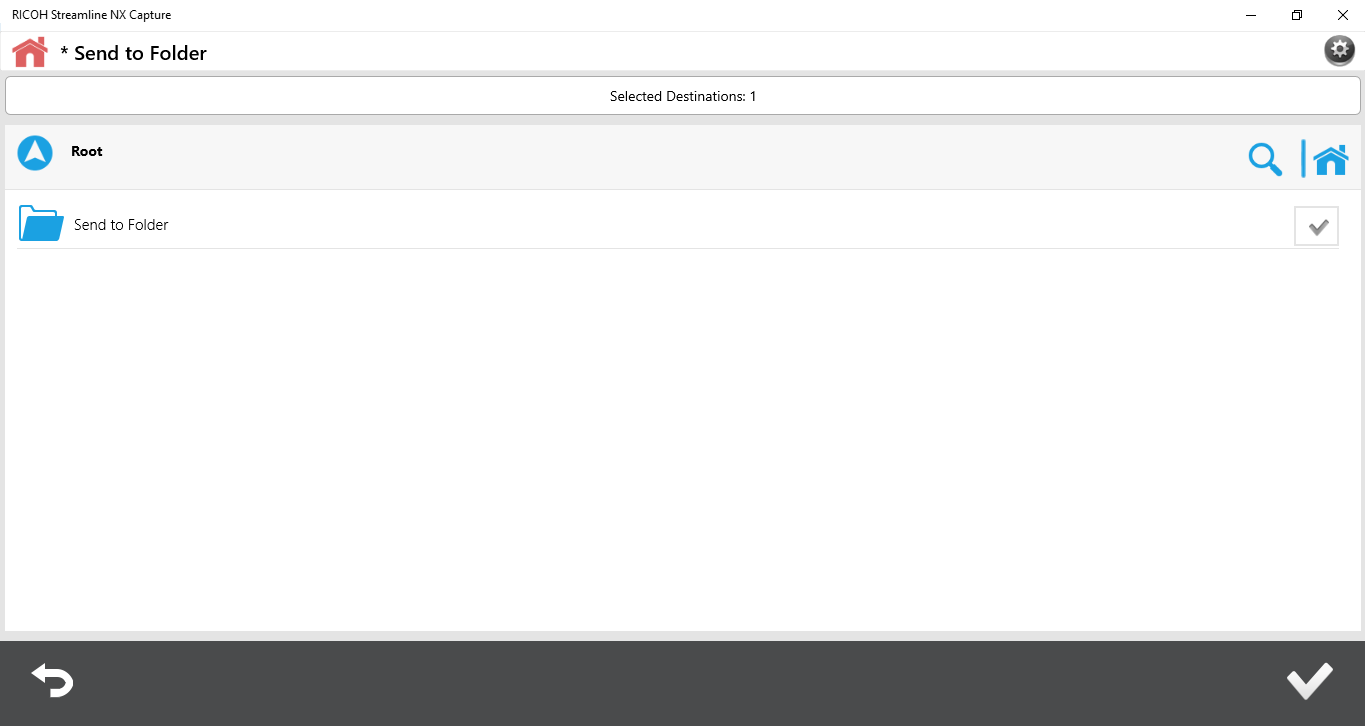
-
Enter the recipient(s) of the scanned file and provide values to other required fields.
-
Click Send.